|
|
|
|
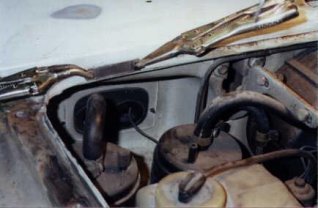
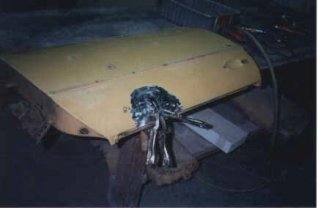
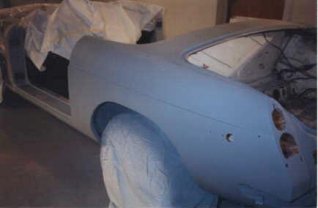
Here's the next group of photos I've received on
the restoration of my B. These photos stretch from November to Mid January.
Except for the first one obviously. Nothing too exciting in these photos.
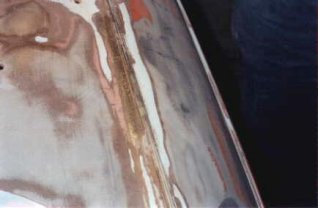
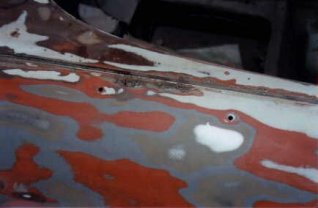
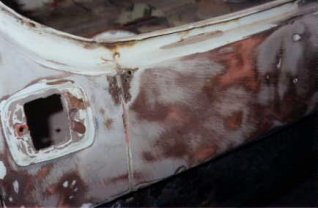
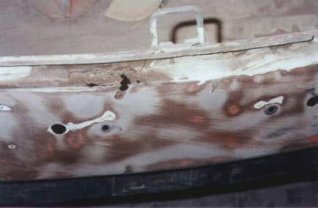
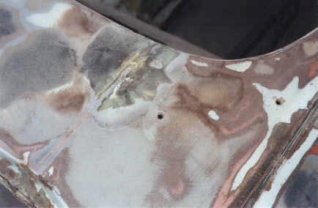
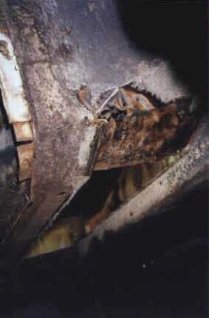
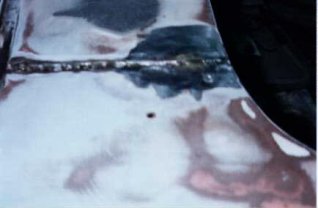
Mostly they just show the numerous pin hole rust spots that had to be removed as they
worked on the body. I'll try to describe the photos as best I can, but some of them
I've got no clue where they're located.
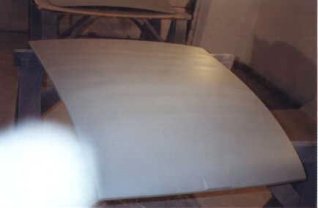
These next shots are the pin holes. Mostly before shots, but there are a couple of shots showing work in progress and after shots. These next 6 were all taken late October, early
November.
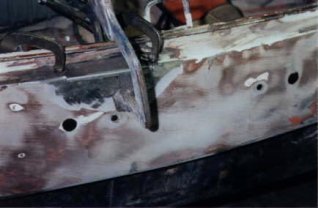
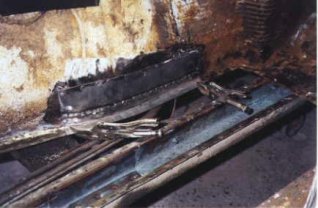
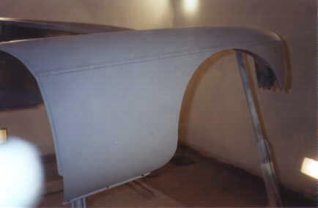
These next series were taken December/January. They are mostly work in progress pictures.
These next were taken after Christmas and show more of the same.
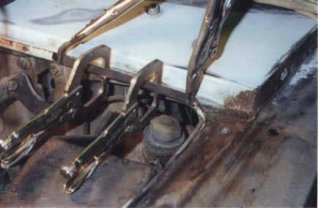
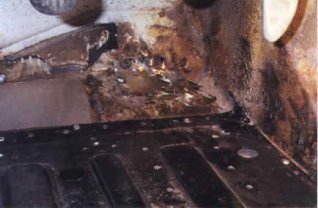
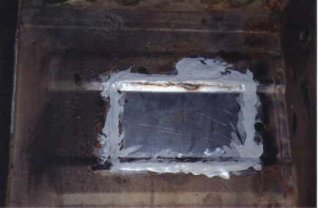
These next couple are all the same area. This
shows the passenger side floor pan and the repairs done to the toe in front of the floor
pan and the transmission tunnel next to the floor pan.
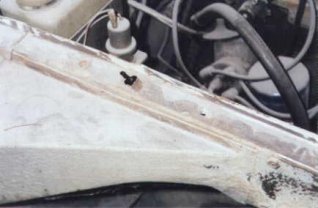
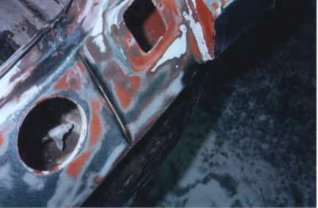
Remember those holes cut for speakers in the front wings?
These are more rust repairs.
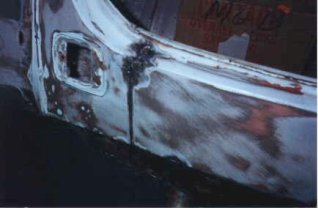
One of the snags that they ran into was the right hand door. Originally they thought that they would just have to replace the skin on it. But when they took the skin off they found too much rust to make it worth while. So, they found a good used door assembly. This shot shows the plate they welded to the inside under the wing mirror. That should prevent the dreaded door crack that is so common. By the way, does anybody need a brand new OEM door skin?
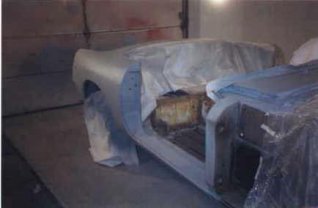
These next shots almost make it all worth the wait. These were all take about 3 weeks ago.
These next 3 shots and the one above were taken during my mechanics "thumb" period.
|
|
This web site is a combined effort and all contributions have been supplied by the people named on this site. All the bits are got together, chewed up, fiddled with and eventually published by Dai Pen-Mawr. It is copyright all of us and thieving bits off it isn't very nice and we would get all upset. Unless of course you put a great big eye catching link back to here next to the bits you nicked!
Send any contributions to Dai Pen-Mawr
|